|
|
Post by Yarno on Sept 20, 2007 17:42:55 GMT 11
Hi Yarno the oxy set will definitely be out although i still prefer to do most of it with the 9". btw which slip joint are you referring to?, if its the front shaft i will be doing the same as the rear utilizing KC & DR DRIVETRAINS to custom make it with another double-cardin & a 10" slip joint, but if the angle is over what the D/C joint can handle i.e tailshaft doesn't meet the front flange on full driverside articulation then the next stage after double cardin is to use a chromolly C.V to replace the universal set up as you get a easy 30% more angle. Some comp trucks use this set up as there rear drive shaft sometimes. regards all muvit  You must have an auto MU then if you don't know... The manual gearbox has the rear shaft slip that goes straight into the rear end of the gearbox.. Cheers Yarno. |
|
|
|
Post by muvit madness on Oct 2, 2007 10:06:52 GMT 11
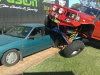
Hi mine is auto. anyway a brief update on where i'm upto: Front diff assy removed & steering box sold to francessco: 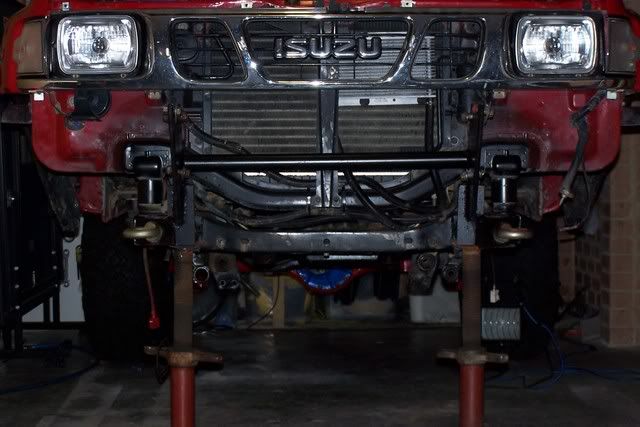 Next was the countless hours of angle grinding all the IFS out: 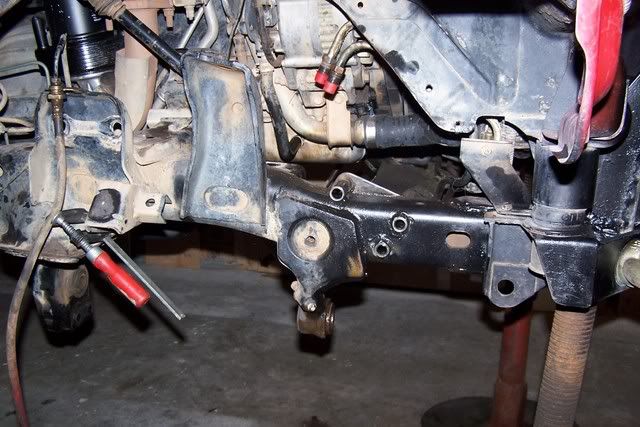 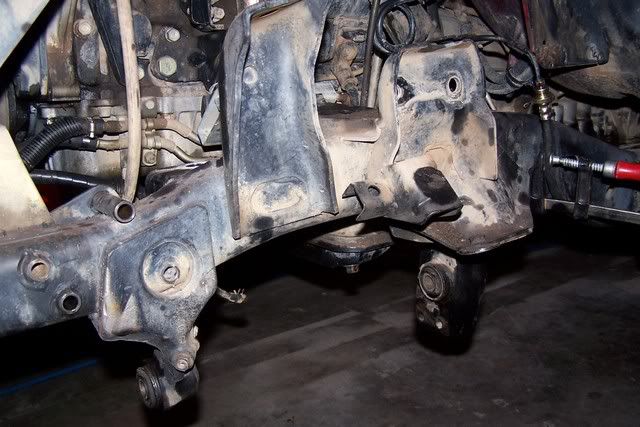 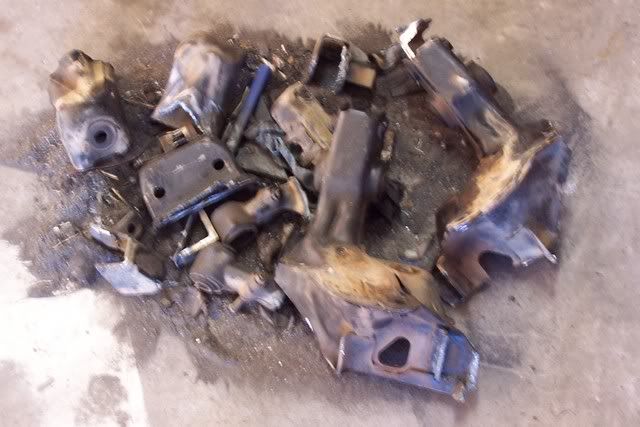 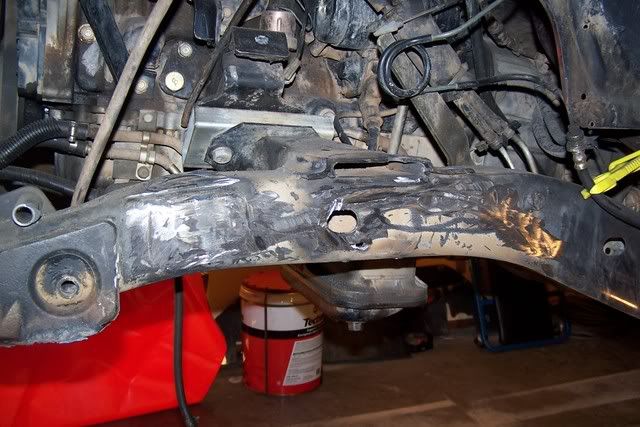 Then to fabricate the steering box plate out of 10mm mild steel using high tensile captive bolts & assemble it together with the GQ steering box: 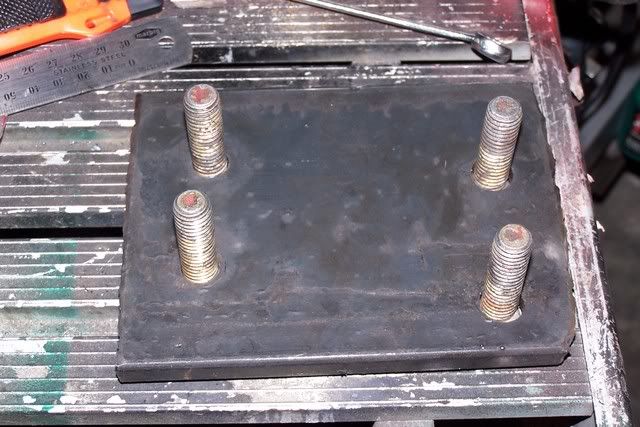 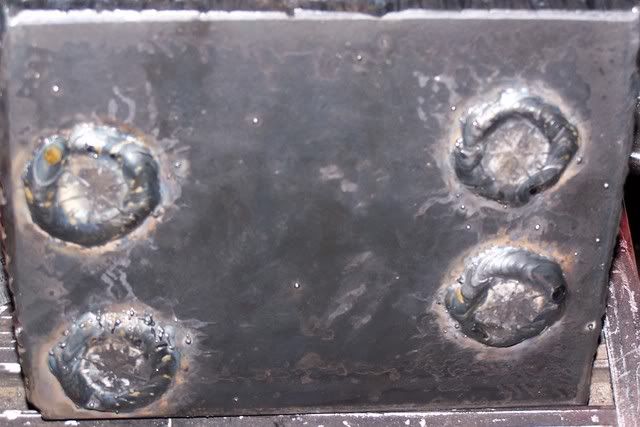 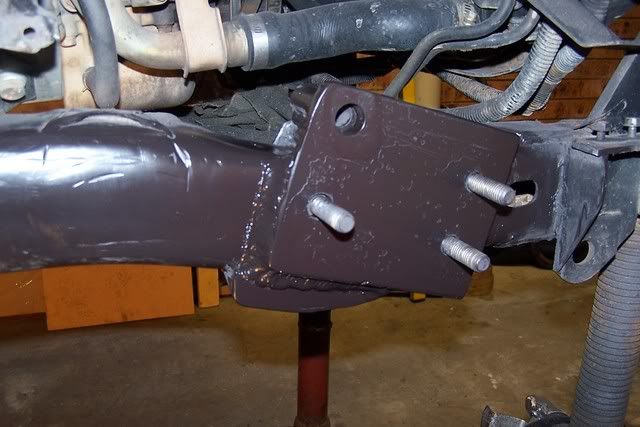 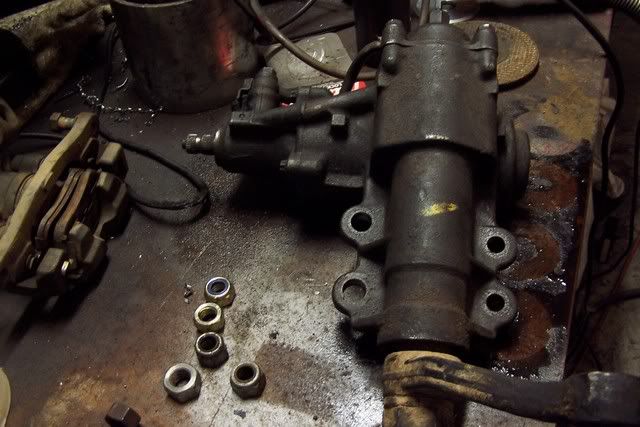 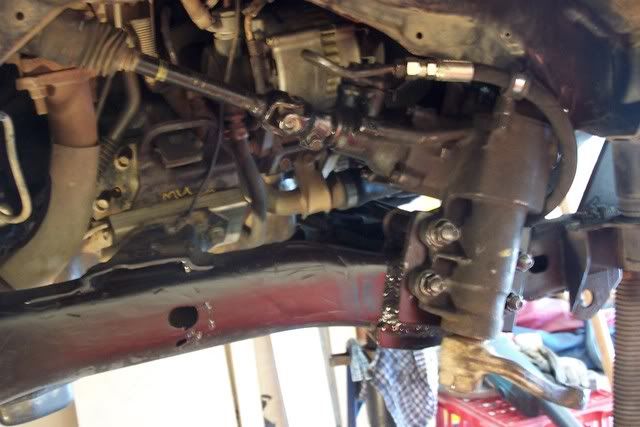 Now to cut the spring & shock hangers away from the GQ chassis rails: 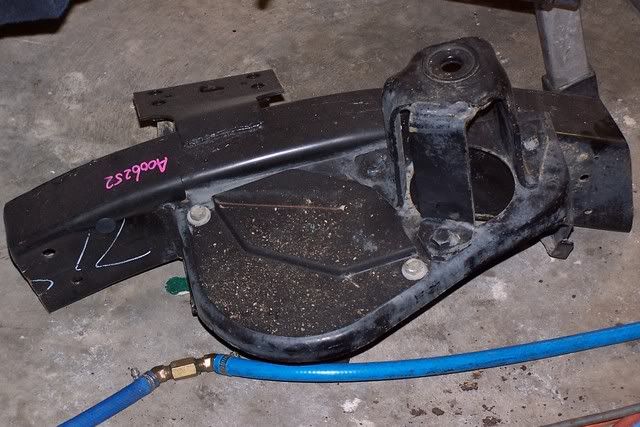  here they are tacked into place on 100x75x6mm dura-gal 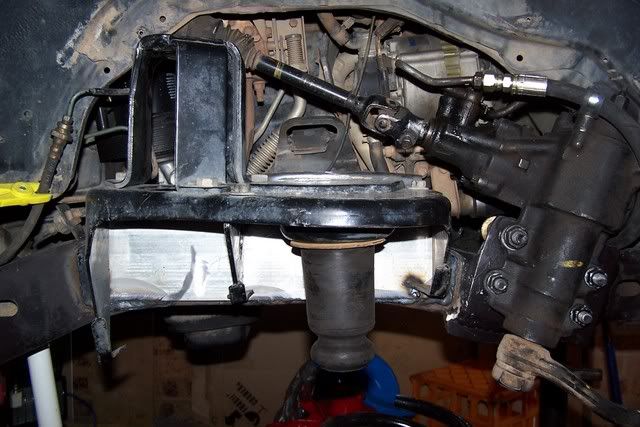 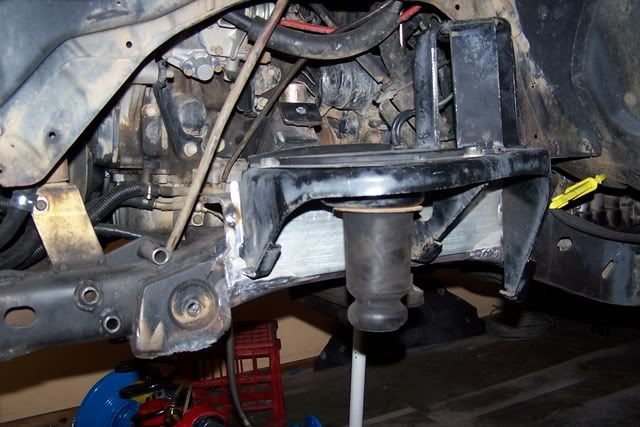 this is where i'm upto. cheers muvit |
|
|
|
Post by caffa on Oct 9, 2007 7:03:21 GMT 11
still VERY IMPRESSIVE
|
|
|
|
Post by muvit madness on Oct 10, 2007 20:44:37 GMT 11
Hi just thought i'd update some more pics of where i'm upto seeing as though there hasn't been much to look at on the forum lately, so here it is: 1st of all here are the coil perches fully welded & painted: 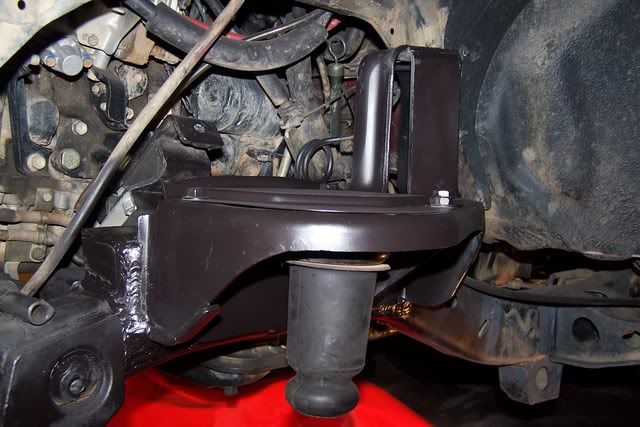 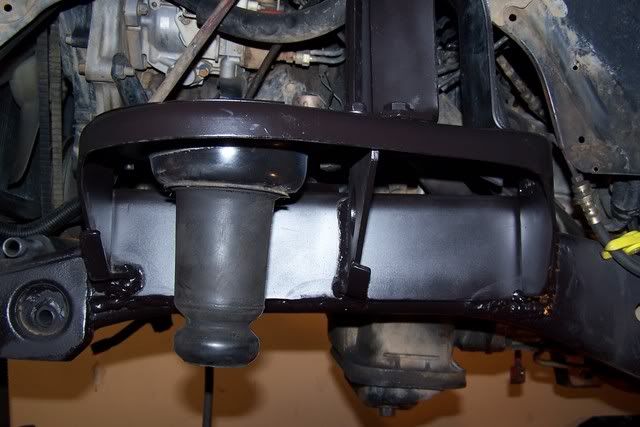 Then i ended up replacing the rear standard coils that are 17mm thick with 15mm ones from king coils which ultimately reduce the spring capacity from 180lbs standard to 150lbs. In turn they will travel further on articulation as well. 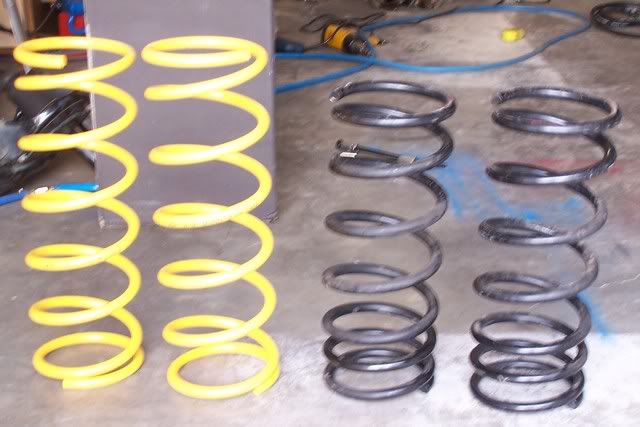 Without going into to much detail here are the various pieces of metal that will make up the lower arm mounts: 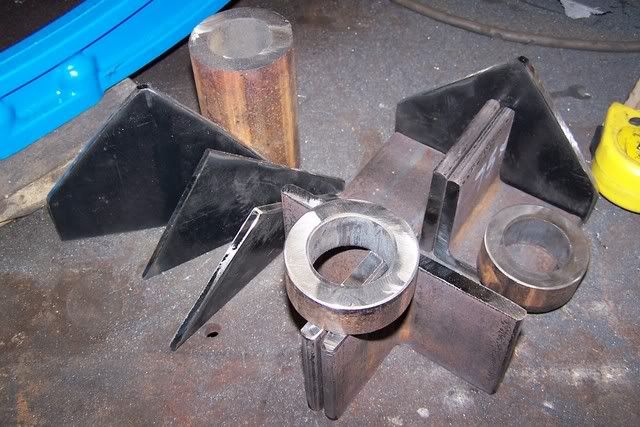 Here they are fully welded up & welded into place: 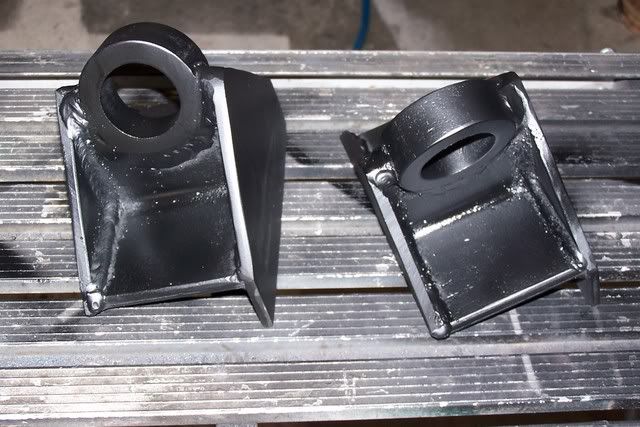  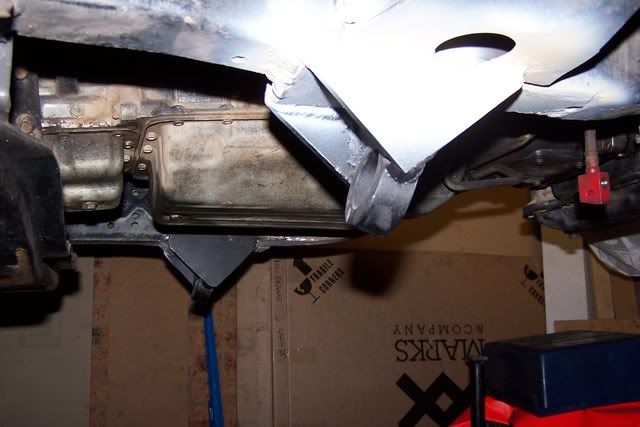 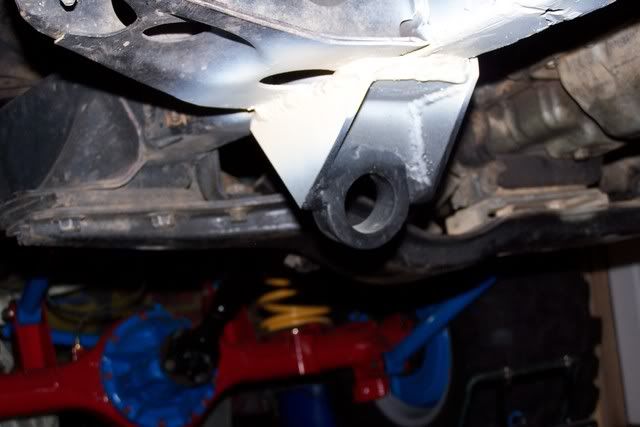 Then i assembled the lower arms on & attached it to the diff. it was all coming together looking great i might add only to hit my 1st snag (big snag i might add). the dobbins A-link was only 2" away from hitting the sump at ride height, so i sat there for ages pondering how i could get around this problem but unfortunately the only solution at the end of the day was to cut it off & re-weld it lower ;( so i bit the bullet & did it here's the pic of the lowered A-link now: (sorry if its blurry). 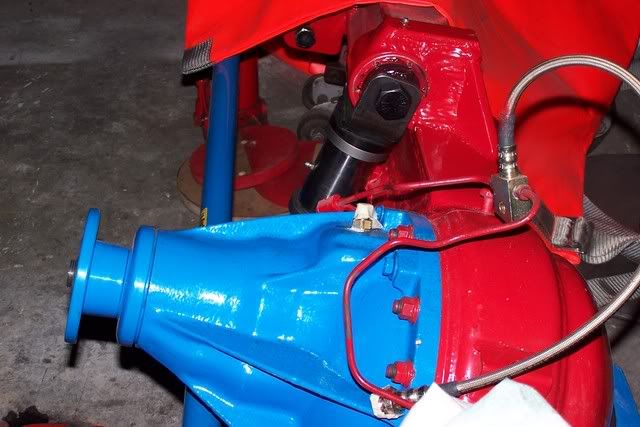 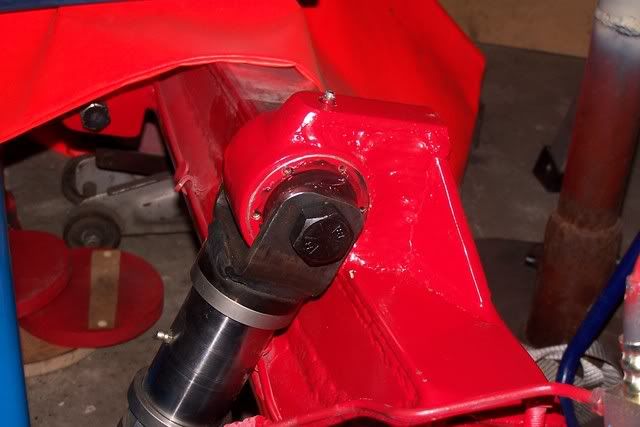 I'll post more next week. cheers muvit |
|
|
|
Post by frn71e on Oct 11, 2007 12:01:19 GMT 11
MY GOD that is some nice work!
|
|
|
|
Post by muvit madness on Oct 12, 2007 23:04:30 GMT 11
Hi frn71e By any chance are you going to any of the comps in november? if not how about a stint somewhere when the MUTROLL is finished?. I'm planning 4 weeks to its completion. should be able to make a big dent in it tomorrow as i have no family commitments & should be able to spend a good 8 hrs of fabrication on it, will post more pics sunday night i'm hoping to finish the front end come sunday. We shall see  cheers muvit |
|
|
|
Post by muvit madness on Oct 14, 2007 21:40:33 GMT 11
Hi Well it's that time of the week again were i'm ready to update some more photos as i was able to spend 8 hrs on saturday fabricating on my MU. I picked up the front coils last week to give an example the standard ones are 15mm thick & 450 high. the new king springs are 14mm thick & 610high. here's the pic: 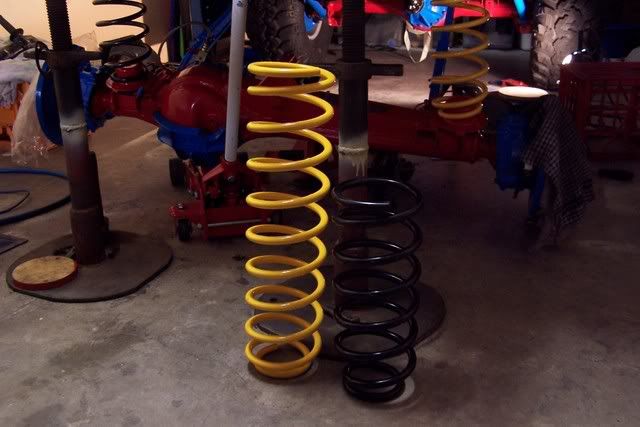 Then the assembly of the coils in there perches & the lower arms: 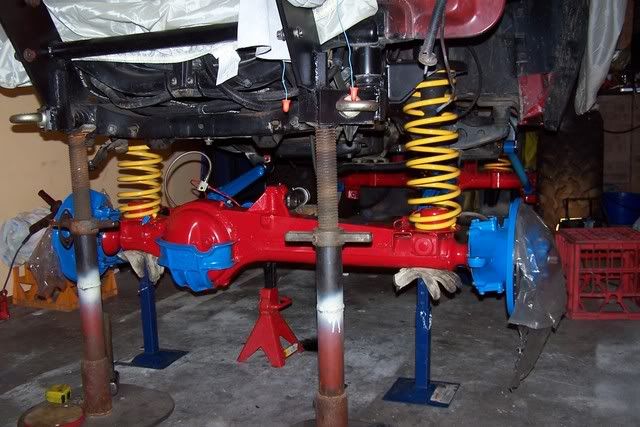 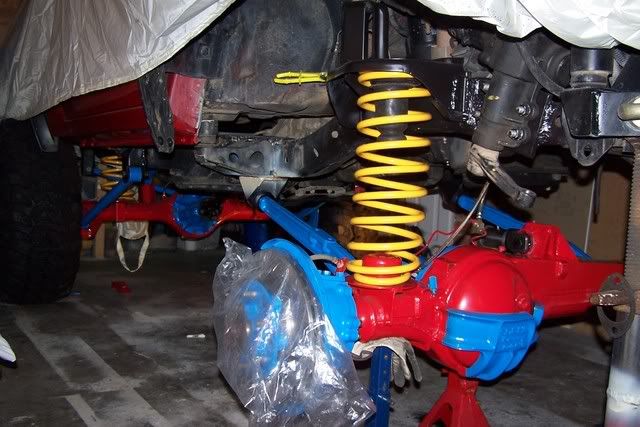 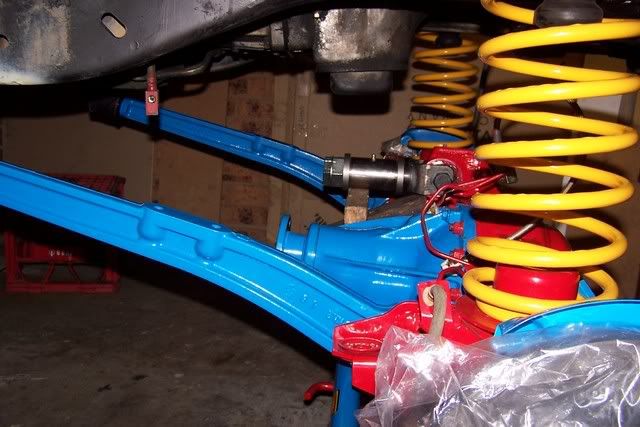 Although i'm still a bit apprehensive on the distance between the A-Link & sump  Here's the plate (dura-gal 100x50x6mm) which will form the base of the A-LINK pivoting brackets so as not to weld the brackets directly on the chassis.: 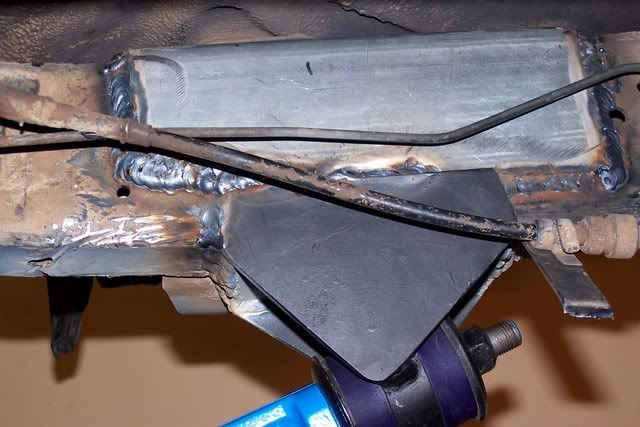 Here are the pivoting brackets already fabricated & rollers ready for assembling then welded to 50nb x 800long heavy pipe: 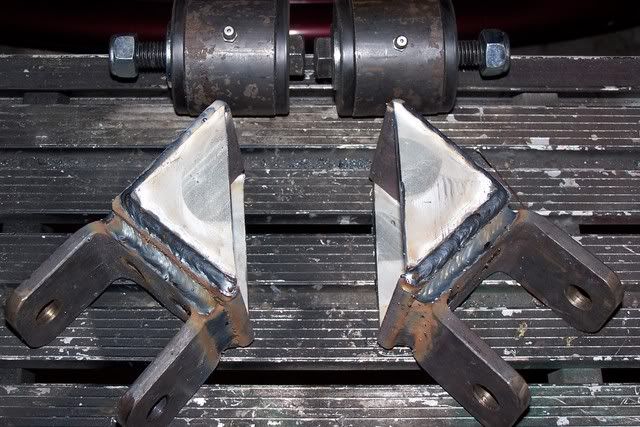 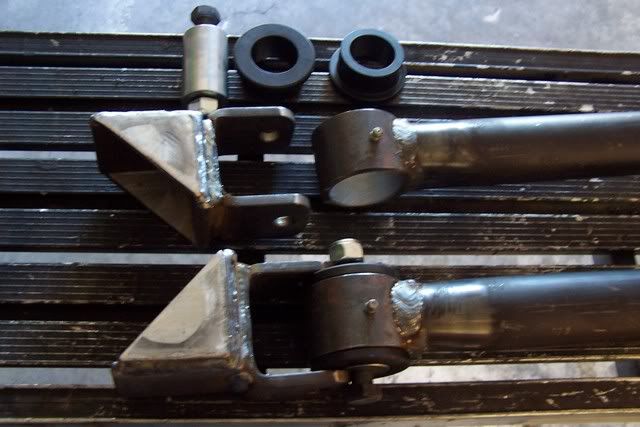 Then to weld the arms to the dobbins A-LINK collar being mindful of the distance between the chassis for the pivoting brackets because once welded it will be a nightmare to re-correct it?: 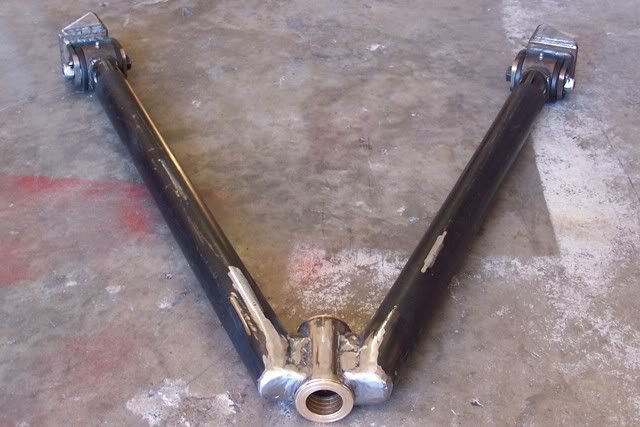 Then to attach it to the diff & to weld the pivoting arms to the plate on the chassis. I'll post the pic of the pivoting brackets welded to the chassis next week once it is fully welded & painted: 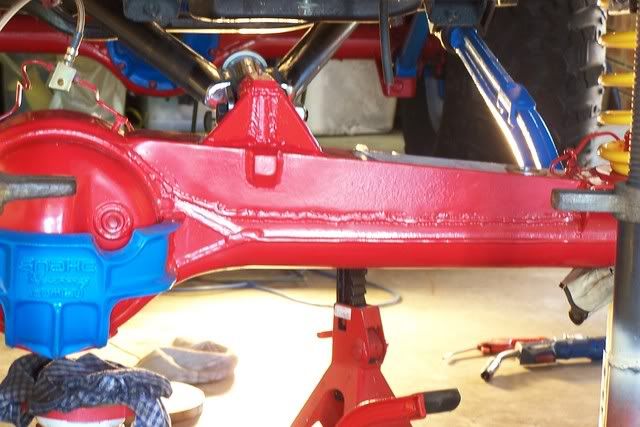 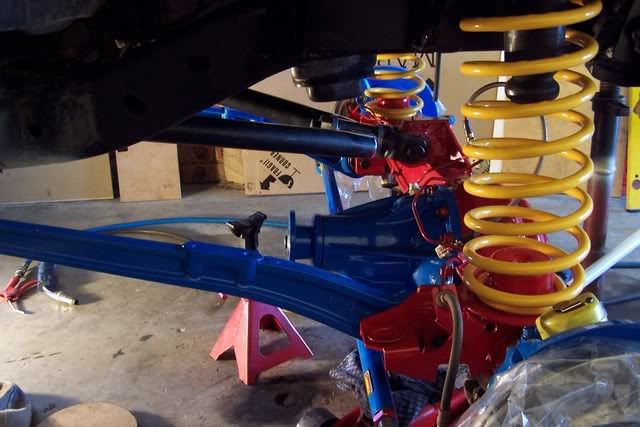 I'll pull the A-link set up off & send it to the powder-coaters through the week & re-assemble it. this is were its upto cheers muvit |
|
fly3r
Isuzu Senior
 Shmoou
Posts: 197
|
Post by fly3r on Oct 15, 2007 12:25:05 GMT 11
Thats is really looking awesoe!!! I can see it all happening! IT going to be one masive articulating, rice box run over kind of truck!! keep up the good work!
Love the pics... keep em coming
|
|
|
|
Post by monstermu on Oct 16, 2007 17:02:04 GMT 11
hey mate, I'm only new to the MU seen but it doesn't take a genius to appreciate fantastic work looks sensational, was considering an S.A.S myself, was curious once all was said and done if you could give an approx cost of parts in total, cheers,
|
|
|
|
Post by justin on Oct 18, 2007 11:33:33 GMT 11
Ignore our advertising mate, I think you've done an awesome job Muvit and it looks the business. Detail is everything! J
|
|
|
|
Post by muvit madness on Oct 18, 2007 20:15:04 GMT 11
hey mate, I'm only new to the MU seen but it doesn't take a genius to appreciate fantastic work looks sensational, was considering an S.A.S myself, was curious once all was said and done if you could give an approx cost of parts in total, cheers, Hi there MonsterMu Kewl name by the way?.(wish i had that ). To answer your ? I'll definitely be totalling it all up once it's finished & posting it. welcome to the forum. cheers muvit |
|
|
|
Post by francesco on Oct 20, 2007 2:27:20 GMT 11
Pm's sent regarding posts and deletions.
Keep up the Great Work Muvit....cant wait to get some final pics
|
|
udm
Isuzu Baby
Posts: 1
|
Post by udm on Oct 21, 2007 13:55:03 GMT 11
mate, i have registered on this forum just to say what an impressive job you sure know what you are doing... but, i was looking at this pic and thought that maybe the bushes should be square with the chassis? as to allow the a-frame to pivot up and down? Ulises |
|
|
|
Post by muvit madness on Oct 22, 2007 21:44:23 GMT 11
Hi udm good point though i already asked the same ? & this is what was explained to me: If i had welded it square yes there would be no resistance in it pivoting up & down therefore the diff wouldn't stop until it bottoms out the shocks & tops out respectfully which would mean a limiting strap will have to be fitted to the centre of the banjo attaching it to a cross brace on the chassis. In saying that once the ride height is set welding it on that angle will allow it to start offering it resistance at 6" either side of the neutral position (sweet spot) acting like a torsion bar as it torques up. Which is good for me as i'm trying to achieve really good flex but also trying to limit the diff travelling to easy toward the sump. cheers muvit |
|
|
|
Post by muvit madness on Oct 30, 2007 21:02:56 GMT 11
Hi guys just an update on the project (sorry no photos), almost ready to post up the first flex shots just working through the final dilemmas which consist of the A-link still to close to sump so i've pre-heated the link & put a kink in it roughly were it meets the sump so as to gain more clearance between the two. which you'll see in the up & coming pic. Now its back at the powder coaters. Then my second dilemma was after attaching the front wheels & lowering it of the chassis stands so its sitting on all 4s the front coils compressed way to much even after the extra 6" that were added. must have been the 1mm reduction in the coil thickness. Without the bullbar on the front was 1.5" lower than the rear. not good enough in my books even thought of the quick fix to install coil spacers but without the bullbar even on i thought whats the use so i ended up getting new ones remade only this time i went back to the original thickness of 15mm thick x 720high & now they're at the powder-coaters with the A-link arm. Hopefully get them both this fri then i"ll post some final flex shots sunday night depending on the time i get back from nissan trials comp  . As of next week i'll be starting my homemade 2 1/2" 409 grade stainless steel exhaust system which will go a little something like this: from turbo flange remade 2.5 dump pipe through to 2.5x8"bellow (that flexible mesh piece after the bend) then onto the 16"x6" staight through hotdog muffler then into 2.5 collector (better known as a Y-piece) & from here out to a twin system roughly from the diff back finishing it off with chrome tips of course he-he-he...total cost of exhaust system including 12' of 409 grade stainless & gaskets + flanges was $391. I'll generate a new thread with pics as i go under exhaust modifications in a couple of weeks. cheers muvit |
|
|
|
Post by geeves on Oct 31, 2007 6:36:29 GMT 11
Is powder coating the springs a good idea???
powder coating requires heating which will draw the temper and soften the springs.
|
|
|
|
Post by bbmrick on Oct 31, 2007 17:02:19 GMT 11
Is powder coating the springs a good idea??? powder coating requires heating which will draw the temper and soften the springs. I disagree. Every major spring maker powdercoats their coils. I have had the boys at Tough Dog arrange custom colours for my customers plenty of times with no ill effects. It should pose no problem at all. Rick. |
|
|
|
Post by James W on Oct 31, 2007 18:21:26 GMT 11
Powder coating temperatures are way less than the making permanent changes to spring steel temperature |
|
|
|
Post by bbmrick on Nov 3, 2007 9:44:29 GMT 11
That said, powdercoating suspension and a-frame links with the bushes still fitted is not such a good idea, is it Ray? |
|
|
|
Post by muvit madness on Nov 3, 2007 14:12:19 GMT 11
Hi rick He-he-he i hear you pal i thought it would have been ok seeing as though most of the other components i.e brake calipers were put in with their rubber seals & O-rings & they didn't perish. just thought the plastic bushes would'nt loose there integrity. my bad besides it gave me a chance to have a long chin wag with glen dobbins & tell him my life story ;D as you guys love....The bushes set me back $40 & plenty of free advise. Man he knows his stuff he is a guru in the engineering field.... He may have gave me some bad news about something that i overlooked & that i wasn't made aware of when i 1st embarked on the A-link set up... Its regarding steering issues when road driving namely cornering, because there is no pan hard rod to make the diff step in & out when it articulates & only a A-link which doesn't allow sideways movement the steering arm will act as the pan hard rod in turn turning the steering wheel prematurely as the car body rolls hence fighting with the steering wheel to keep it in a straight line. this is why the A-link set up was tried & failed & was then scrapped to the upgraded cross-link set up which i have seen in his work shop & will implement if his theory is right. What's your thoughts?. regards muvit |
|


 .
.
